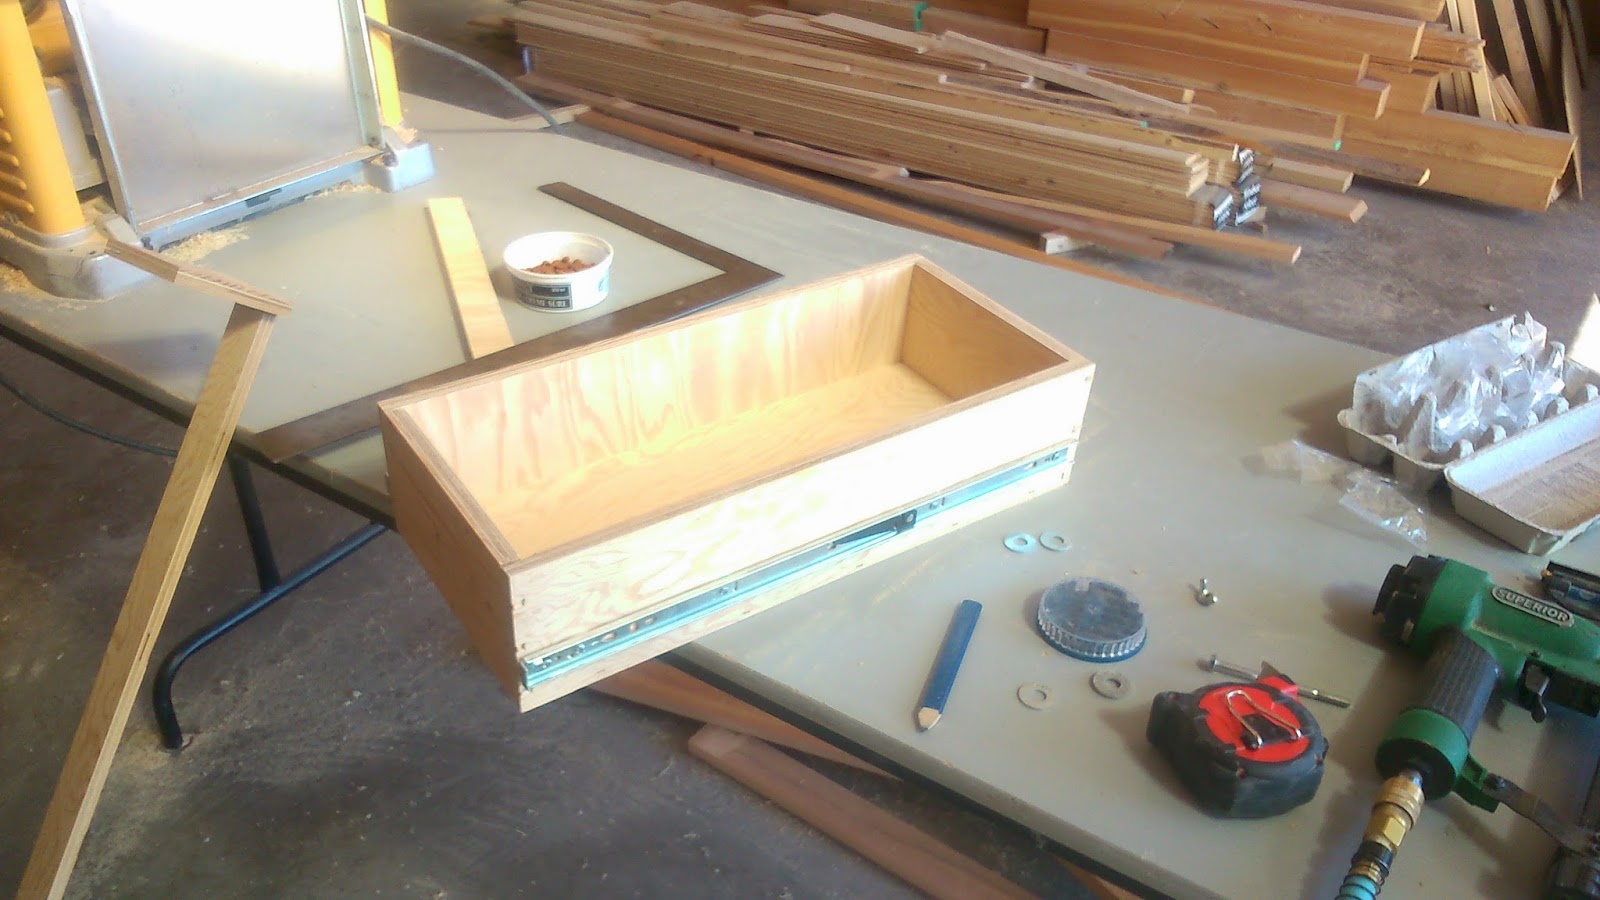
I decided to use the same 5/8 good one side plywood that I've been using for the cabinets to make the drawers. This makes them quite a bit rougher on the outsides and more rustic than using melamine - which is a more usual drawer material - but I highly dislike working with melamine. It chips so easily and I don't like the little iron on edges that you have to use with it. I could also have used 3/4 inch birch finished plywood, which would have been nice. However, it's very expensive and also thicker and heavier, so I went with rustic.
I did discover something about plywood, however. Some of the plywood I got came from Canada and some from China. The plywood from China was much rougher, required lots more sanding, and tends to warp more easily. It's good for rough projects, but Canadian plywood is better if you want to do work that is more finished in appearance!
Incipient drawers: The process is a bit time consuming, as there are quite a few steps. First, cut out the pieces, paying careful attention to make measurements precise and cuts smooth and square. Two drawers are cut out here.
Sand each side of all pieces with the belt sander and then the vibrator sander to smooth them out as much as possible.
Once the drawers are together, they are gone over again with the belt sander, especially on the edges, and with the vibrator sander to take the sharp edge off all sides.
The drawer runner is then added. This is set in place centered over a line drawn on the box to correspond with the height of the runners in the cabinet so that the drawer has about 1/8 inch of clearance on the bottom.
Due to some sometimes rather rough plywood, and sanding both sides of all pieces, I sometimes sanded as much as 1/8 inch off the width of the drawer. I had to compensate for this by putting washers under some of the drawer runners.
Drawers: It's quite exciting each time when they actually fit and slide in and out like they are supposed to!
All of the kitchen cabinet drawers are done now, and the drawer under the oven.
Stick out your tongue and say "Aaaawwww" :-)
This drawer will hold hats and gloves and things, since it's by the door. It uses some space under the fireplace.
I'm not sure what will go here yet, but it makes use of some hard to reach space under the corner of the kitchen counter.
The counter and window seat are almost done now too, but they don't have their Osmo finish yet in this picture.
There are still quite a few drawers to come - under the refrigerator and in the bathroom. But that will come later...


No comments:
Post a Comment