The last couple of weekends I haven't been trying to accomplish huge amounts, which is good because I also haven't accomplished a great deal. I have managed to get the two gable end walls done though, and all of the blocking put up between the rafter ends and along the center of the wall. When doing these things I have found myself being repeatedly and deeply grateful that I'm not building a full size house!
Here's a view of the blocking along the center line of the wall studs. This goes all the way around the house. Insulating is going to be a bit of a pain because, despite best intentions, almost none of the spaces between studs is the same width. Wonder how I managed that?
(Actually, and in my defense, the variable widths are in many ways a function of the small space and the variety of windows, wheel wells, intercepting walls, and other things that add extra wall studs or don't fit into the nicely planned 24 inch center idea).
Here you can see the blocks put along each side of the center beam and nailed to the beam and rafters. They help to keep the rafters from twisting or slipping.
This is the same thing at the other end of the rafters. Lots of measuring, cutting and nailing!
The gable end over the door. The window is a bit shorter than I had hoped, but I had to leave room for the shed roof over the porch to attach. The window won't be square though - this one will be a cathedral type shape with the rounded top coming to a point.
Not the best picture here, but it shows how the light can stream in through the pentagonal window on the sleeping loft end.
The roofing has arrived, so this weekend the tar paper and metal roofing will go on - weather allowing! Still waiting on the panel insulation though, and having serious difficulties finding the right fridge - but that'll be a post all on its own.
Thursday, May 8, 2014
Thursday, April 24, 2014
Rafters and Roof
Despite my drawings and thoughts that I had figured the rafter situation out, I found myself having quite a few difficulties with this part. The first job was to get the beam into the correct place and keep it there. With my father's help, we made four stands shaped like upside down T's, centered the uprights on the trailer and screwed them to the top wall plate. Then we screwed the beam to the uprights at correct height and ensured that it was level. My brother also helped quite a bit with this part of the project and helped to lay out the pattern for the first rafter, essentially by setting it against the ends of the wall plate and the beam and drawing on the angles and cut-outs.
This all sounds fairly straight-forward and simple - which it is. However, it still took several tries to get the angles to work out correctly while still keeping the beam in its proper place in the center of everything.
Here are the first few rafters.
And a bunch more all cut out. Marking and cutting was a multiple step and time consuming process, especially as I'm not particularly good at doing things exactly in the same way every time. They turned out pretty well though.
The small blocks on the edges are stapled there as insulation stops. I will be using sheets of polyisocyanurate foam insulation (which has a very high R value per inch) in the roof, but because of the cold climate there needs to be an air space between the insulation and the outer roof. This space helps to keep the roof cold and prevents ice from building up when there is snow on it.
You can buy spacers for this purpose, but they didn't have any in town when I needed them and I thought these blocks would work as well - and also be less expensive.
The first section of rafters are in place in this picture, and you can also see the pony walls on the sleeping loft.
Jumping quickly forward, this picture shows the house with completed rafters and roof sheathing
Another angle. Still no sheathing on the North wall.
Many thanks to my "little" brother for his help!
All of the sheathing on, but no windows cut out yet.
This picture looks down the inside of the building from the door toward the sleeping loft. The walkway over the beams in the center is an old piece of manufactured floor joist, used while we were setting the rafters in place. The roof is tarped down and the open end of the sleeping loft covered with the tarp.
A closer view of the sleeping loft.
This all sounds fairly straight-forward and simple - which it is. However, it still took several tries to get the angles to work out correctly while still keeping the beam in its proper place in the center of everything.
Here are the first few rafters.
And a bunch more all cut out. Marking and cutting was a multiple step and time consuming process, especially as I'm not particularly good at doing things exactly in the same way every time. They turned out pretty well though.
The small blocks on the edges are stapled there as insulation stops. I will be using sheets of polyisocyanurate foam insulation (which has a very high R value per inch) in the roof, but because of the cold climate there needs to be an air space between the insulation and the outer roof. This space helps to keep the roof cold and prevents ice from building up when there is snow on it.
You can buy spacers for this purpose, but they didn't have any in town when I needed them and I thought these blocks would work as well - and also be less expensive.
The first section of rafters are in place in this picture, and you can also see the pony walls on the sleeping loft.
Jumping quickly forward, this picture shows the house with completed rafters and roof sheathing
Another angle. Still no sheathing on the North wall.
Many thanks to my "little" brother for his help!
All of the sheathing on, but no windows cut out yet.
This picture looks down the inside of the building from the door toward the sleeping loft. The walkway over the beams in the center is an old piece of manufactured floor joist, used while we were setting the rafters in place. The roof is tarped down and the open end of the sleeping loft covered with the tarp.
A closer view of the sleeping loft.
So ended the four-day vacation. It was quite a relief to know the roof was up, the tarp was nailed down, and things would be dry. As it turned out, it rained buckets during the night, so the rush to get everything finished to this point was well worth it!
Pony Walls and Ridge Beam
The roof over the sleeping loft has a different slope than the roof over the rest of the building. It's a much shallower slope which is intended to give more head room and living space in this low-ceilinged part of the house. In order to do this, two short pony walls had to be put in place to hold the wall ends of the rafters up higher. Each wall also has two windows in it for light, ventilation, and fire escape should this ever prove necessary.
Here is one of the walls with the pieces cut and set out, ready to nail together.
Here are the two walls, well nailed and ready to go.
Since I'm using rafters and not trusses, I needed a ridge beam that would run the length of the building, plus extending a few inches at each end. The beam needs to be strong in a vertical direction, but doesn't require a great deal of horizontal strength. I made my beam by cutting 5 1/2 inch strips from a sheet of 5/8 inch fir plywood. I then laminated two layers of the strips together, overlapping all of the joints. The layers were glued together with PL 400 glue and thoroughly screwed (in a good way) :-) with 1 inch wood screws. This picture shows the bottom layer with the glue applied and the first bit of second layer set on top. The two pieces of OSB are there to act as straight edges to help keep the beam straight while we put it together.
Here's the trailer, moved out of its shed.
Saturday, April 19, 2014
Little Things and New Toys
I finished the sheathing on what will be the North side of the house, but haven't cut the windows out yet. I did cut out around the wheel well though, and also finished a few small tasks like the final layer of 2 x 4 around the top of the wall.
I also spent quite a lot of time sanding the fir beams that hold up the floor of the loft and salvaging some pine siding that will be the ceiling of the bathroom. It also required quite a lot of sanding, as well as sorting out to find pieces that were still intact and able to be used. It was kind of fun to see the the beauty of the boards appearing as the dirt and roughness was sanded off.
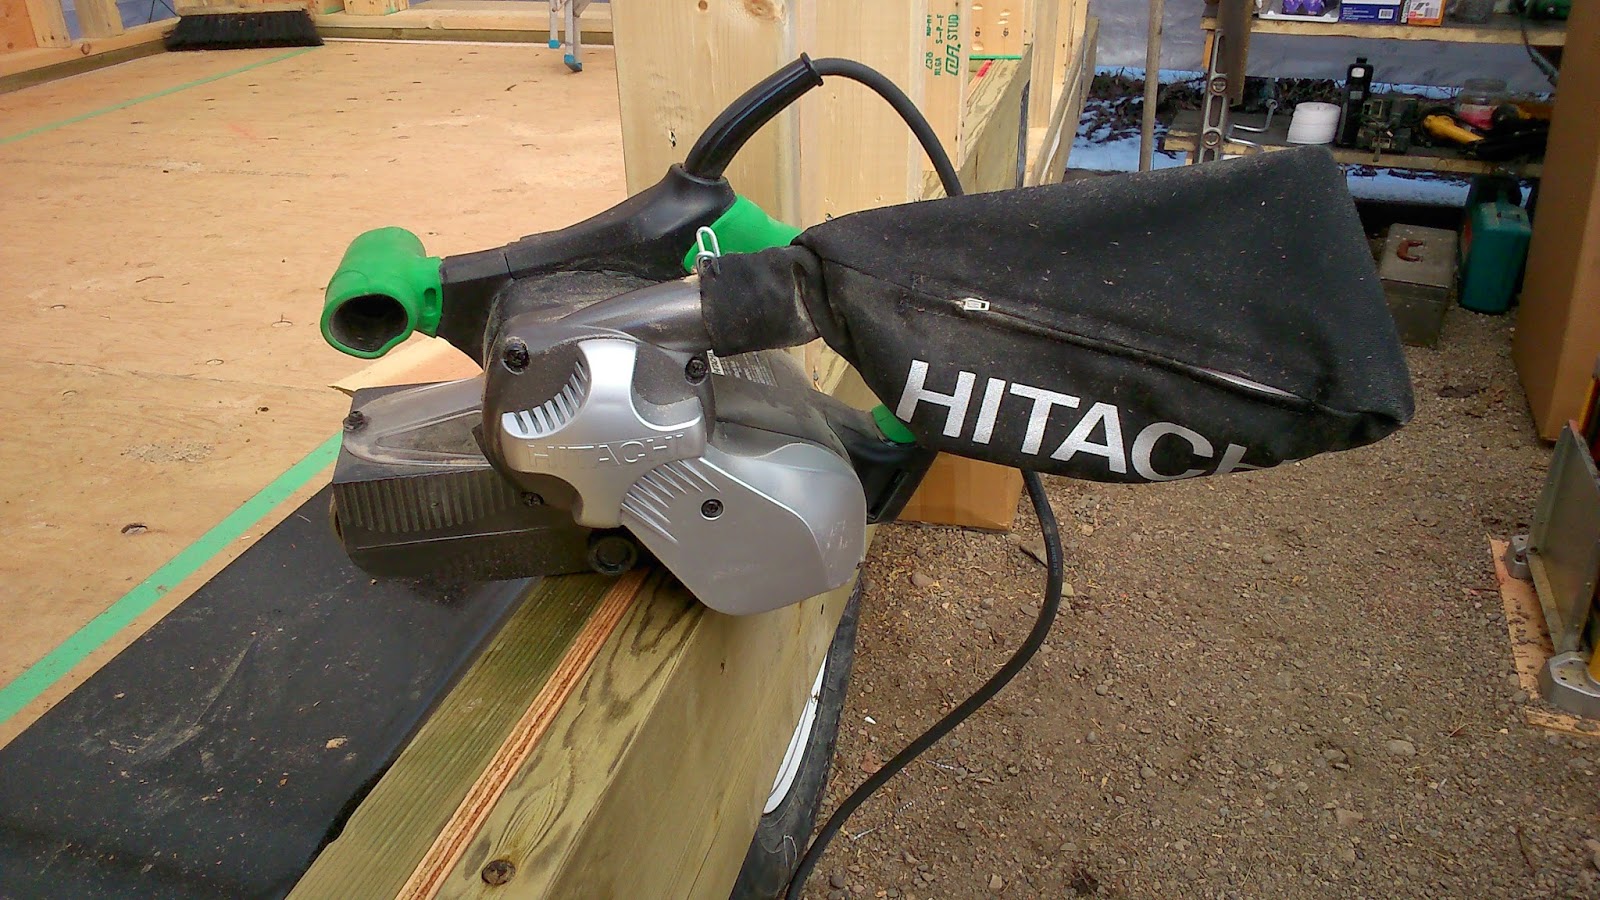
It was very nice that the new sander that has been on order for a couple of weeks arrived in time. This is a Hitachi with a 3 x 21 inch belt. It works pretty well..
A couple of other fun toys arrived as well. Due to a fortuitous and very good sale, my father and I went together to buy a new compressor to run the air nailers,
I've also been working on figuring out the rafters and the pony walls for the loft. Here's a rough drawing of the rafter angles for the steeper part of the roof. It will no doubt be a bit different than the drawing when it actually goes together, but this helps me to picture it in my head better, and also to get an idea of how much space will be required by all of the roofing layers so I'll know how high I can make the loft.
Sunday, April 6, 2014
The Ceiling Beams and Upper Walls
Height is a big issue for a Tiny House, if you want to be able to pull it down the road at least. There is a limit of 13 feet six inches if you want to be sure to fit underneath things, and also if you want to avoid an over-height permit. This means that every inch of space needs to be carefully calculated and there are some trade-offs along the way.
Since I live in a cold climate, insulation is a big issue. One of the reasons I decided to build my own trailer rather than just buying an RV is that I couldn't find an RV that was really built for winter. (There are some that say they are winter ready. From the research and looking that I did, none of them are very comfortable at -30 or -40, and they use huge amounts of propane trying to stay reasonably warm). In any case, I needed to have an air space between the insulation in the roof and the roof sheeting in order to avoid ice build-up on the roof, and I needed to have enough room to put some reasonable insulation in. (More on insulation later) Therefore, I changed the plan from 2 x 4 rafters to 2 x 6 rafters, and lost a couple of inches of head space in the loft. I decided to transfer this down, and made the ceiling under the loft, and the level of the cross beams, lower than the plan. In my house, the bottom of the beams is at 6 feet 3 inches, and the ceiling under the loft is at 6 feet 6 1/2 inches.
I'm not terribly tall (about 5 foot 8) and so this works for me. It's not great for tall people though.
Since I live in a cold climate, insulation is a big issue. One of the reasons I decided to build my own trailer rather than just buying an RV is that I couldn't find an RV that was really built for winter. (There are some that say they are winter ready. From the research and looking that I did, none of them are very comfortable at -30 or -40, and they use huge amounts of propane trying to stay reasonably warm). In any case, I needed to have an air space between the insulation in the roof and the roof sheeting in order to avoid ice build-up on the roof, and I needed to have enough room to put some reasonable insulation in. (More on insulation later) Therefore, I changed the plan from 2 x 4 rafters to 2 x 6 rafters, and lost a couple of inches of head space in the loft. I decided to transfer this down, and made the ceiling under the loft, and the level of the cross beams, lower than the plan. In my house, the bottom of the beams is at 6 feet 3 inches, and the ceiling under the loft is at 6 feet 6 1/2 inches.
I'm not terribly tall (about 5 foot 8) and so this works for me. It's not great for tall people though.
| The center beam is set here. |
| This is the perspective looking from above the door toward the front. The interior walls are in place and the beams for the stepped sleeping loft are also set. |
Saturday, April 5, 2014
The Walls
Once the deck was in place and the floor plan reasonably decided upon, it was time for the walls.
| The first warm sunny day this spring, and the first pick-nick at the Tiny House. My mother, father, niece and nephew, and Chip the dog. |
| Everybody is enjoying the sunshine. Some of the chickens came to hang out with us for a bit. |
| The front wall standing and partially sheated. |
| This will be the north facing wall. The large open space is the large south window - five feet long by about three and half feet high. |
| The rear wall is up, but the plates haven't been cut out of the bottom of the door yet. The rear windows have grown a bit. |
| Looking back from about the level of where the fridge will be. |
The Floor Plan
Getting this plan done was actually a task that took several months and involved a great deal of research into the appliances and fittings that I wanted to include so that I would have a reasonably exact idea of the cut-out size of each one. A tiny house requires everything to have a place and every inch counts. I'll talk more about the appliances later.
Subscribe to:
Posts (Atom)